Creating an Event
Start from myTickets → Event Dashboard → Create New Event. The dashboard lists every event in your organization with its status, date, location and tickets sold, and totals published events, drafts and tickets sold across all of them.
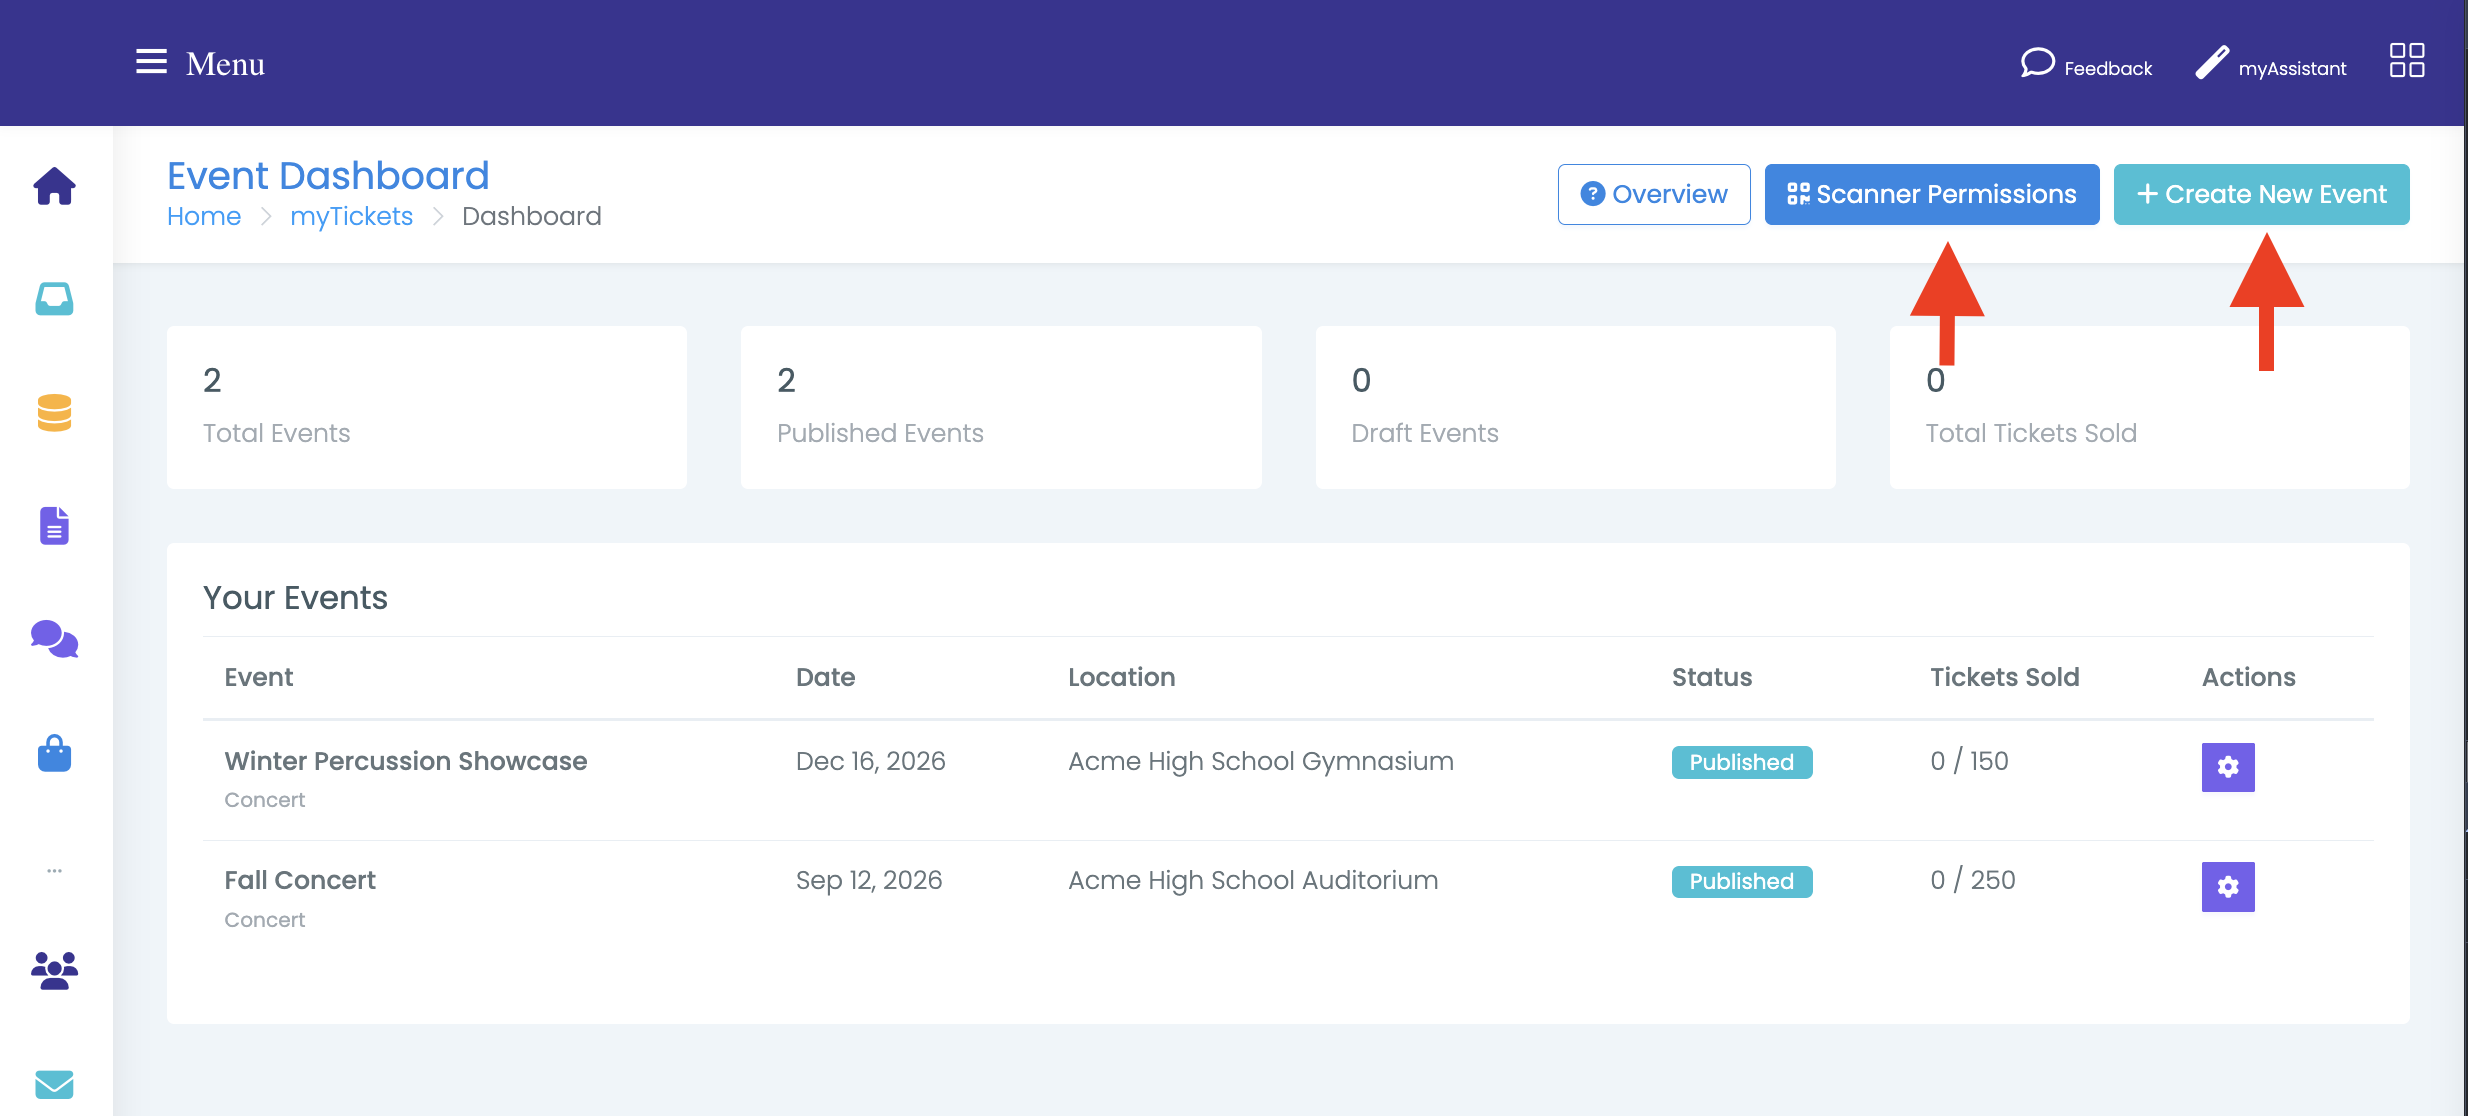
The gear button beside an event opens Manage Event — the hub for everything else on this page and the next few guides.
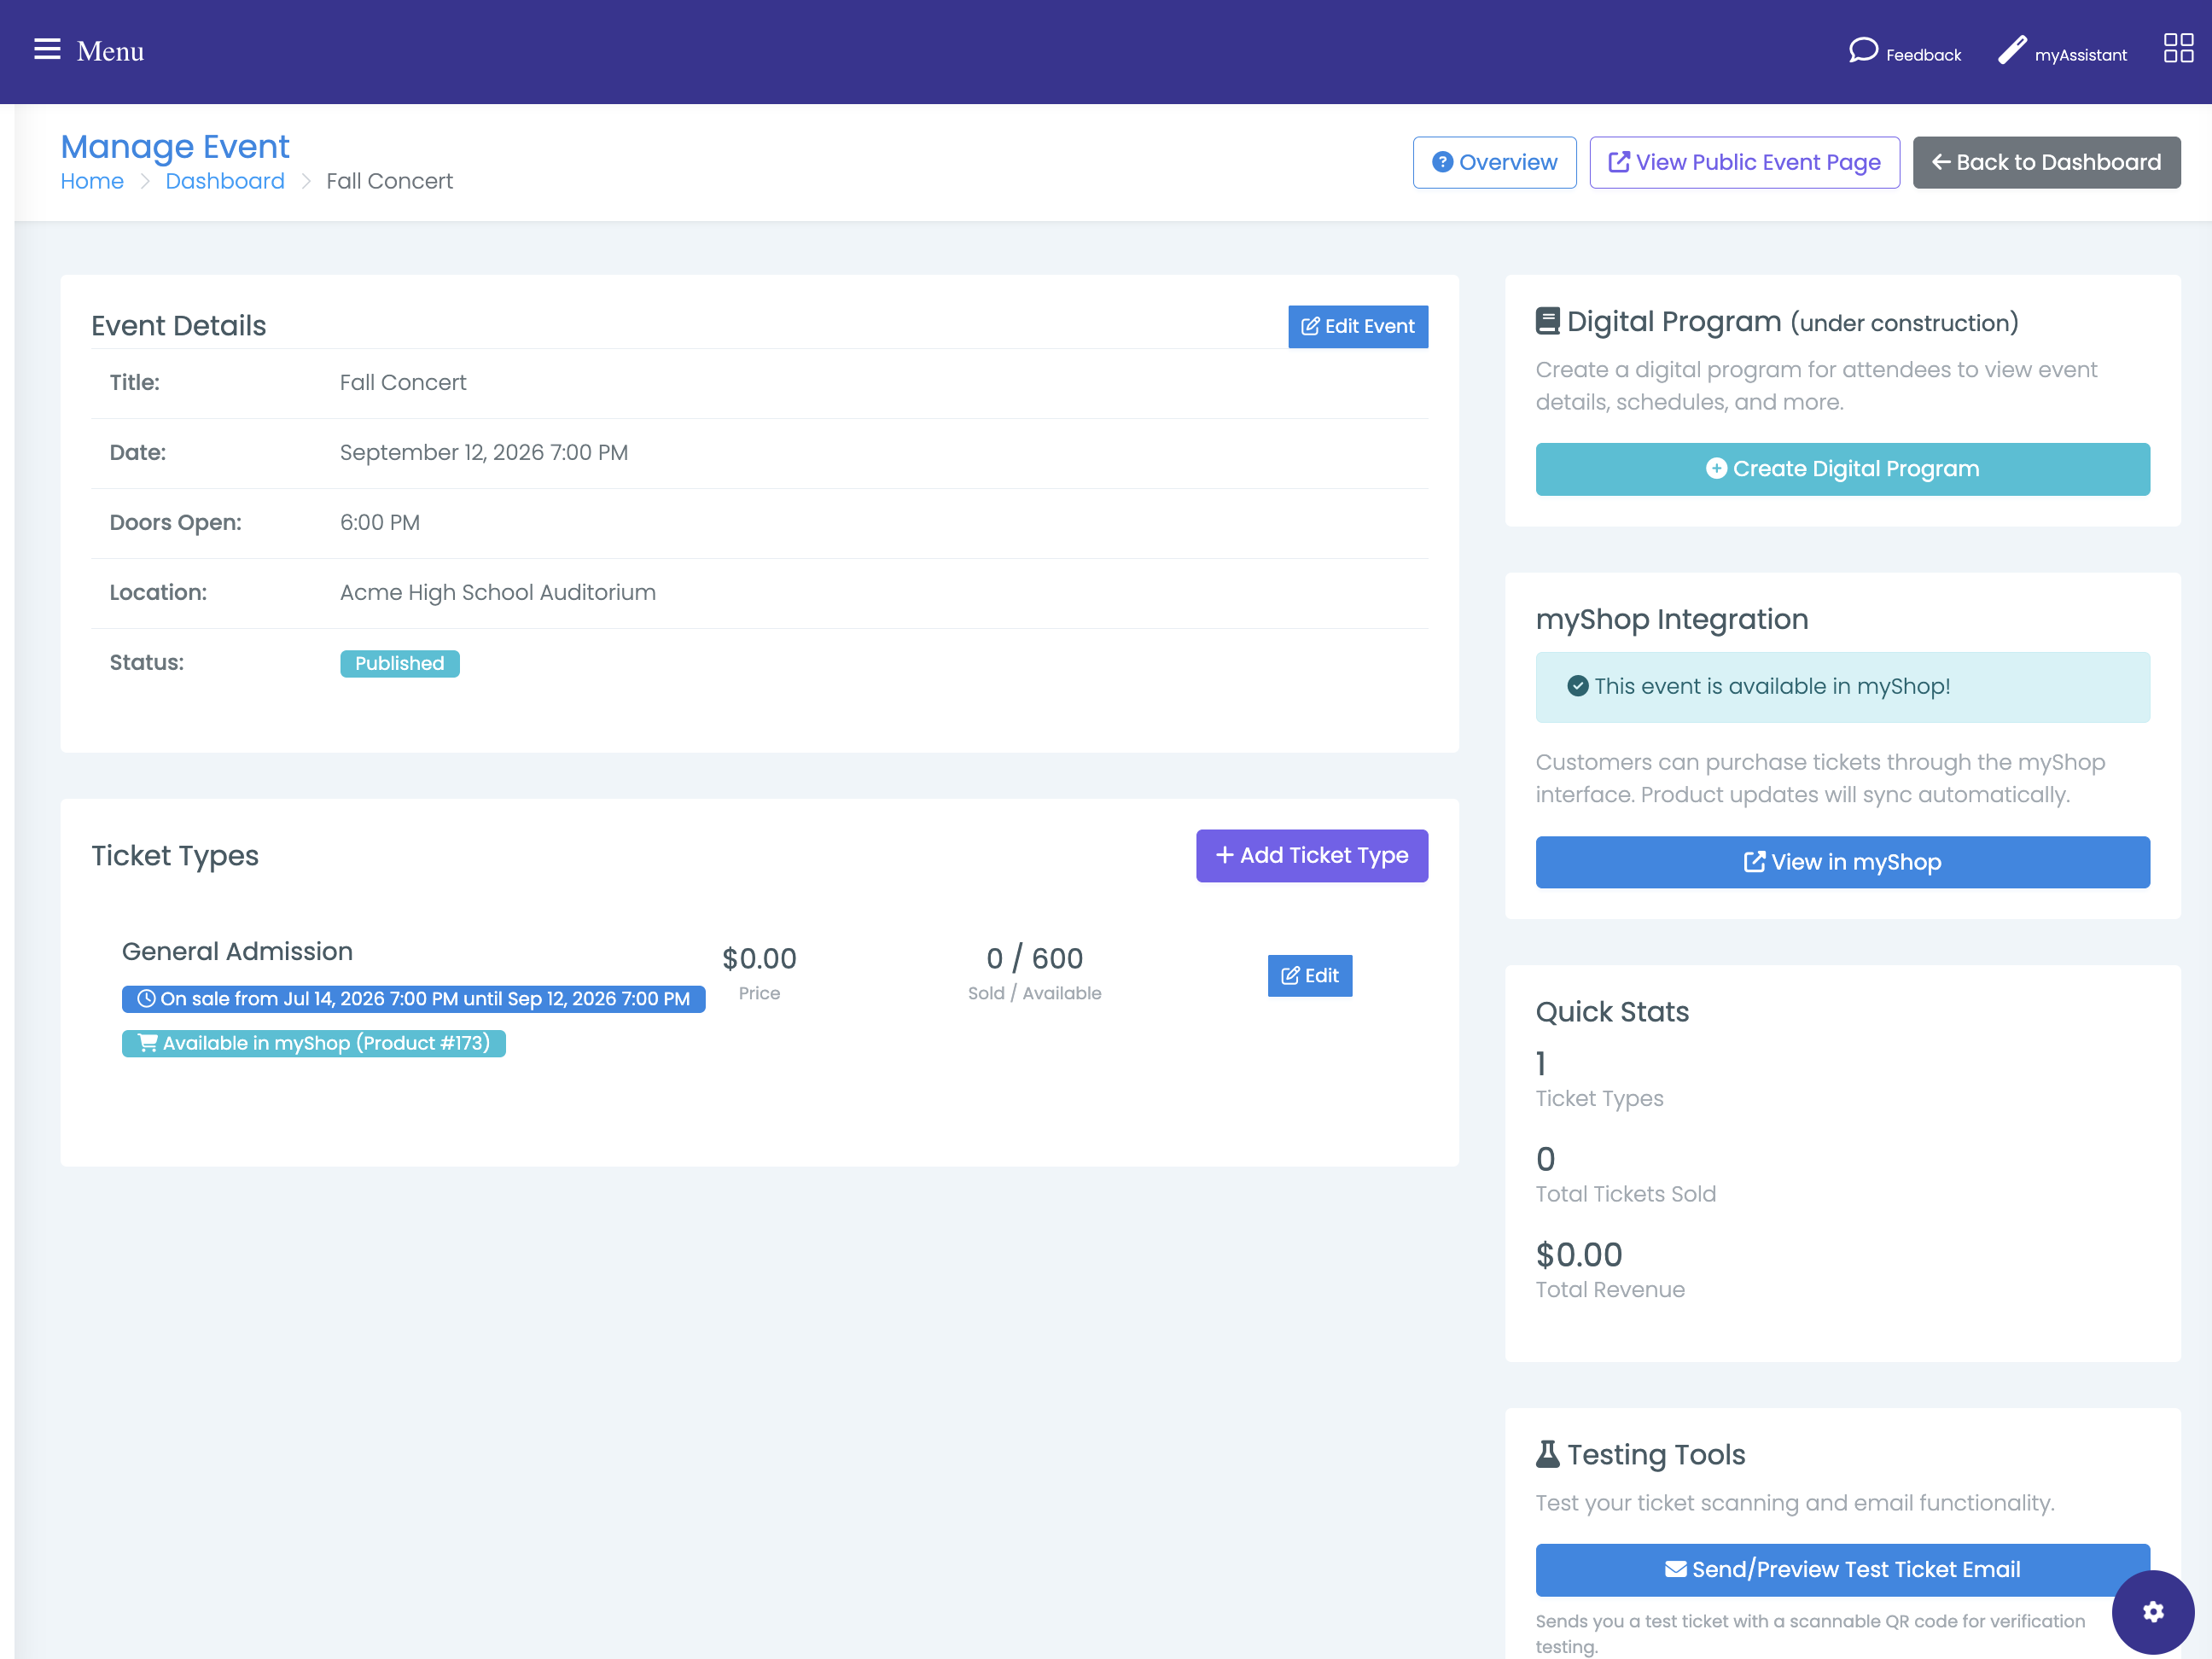
Event details
Title is what families see, and it becomes the event's web address. Name it the way you'd put it on a poster — Fall Concert 2026, not FC26.
Event type — Concert, Sports, Theater, Conference or Other. It's descriptive; nothing behaves differently because of it.
Location is the short line families read at a glance ("Main Auditorium"). Venue details is the longer note underneath — parking, which entrance to use, accessibility.
Event date is the date and start time. Doors open time is optional and is always on the same day as the event; there's no way to set doors open for a different day.
Description appears on the public event page.
Draft, published, cancelled, completed
Status controls who can see the event, and it reaches further than the event page itself.
| Status | Event page | Ticket products in myShop |
|---|---|---|
| Draft | Administrators only | Hidden from families, even if marked public |
| Published | Anyone with the link | Visible, subject to the ticket type's own settings |
| Cancelled | Administrators only | Archived |
| Completed | Administrators only | Hidden |
Publishing the event is what makes tickets buyable
A ticket product can be configured perfectly in myShop and still be invisible to families because the event behind it is a Draft. If people say they can't find your tickets, check the event's status first.
Build the event as a Draft, add the ticket types, create the shop products, look at the public page yourself, then publish.
Editing an event
Edit Event on the Manage Event page. Saving pushes the event's date, doors open time, location, venue details, event type and published status out to every linked myShop product automatically — you never update those on the product side.
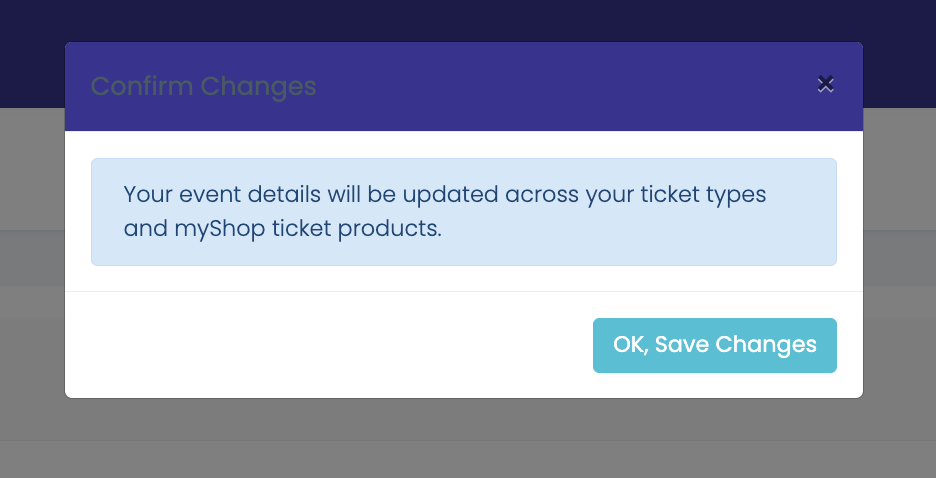
Once the event has products in myShop, saving shows a Confirm Changes notice first, so the reach of the edit is never a surprise.
Moving the date
If you change the event date and the event already has ticket types, that same dialog asks whether to shift each ticket type's sale start and end dates by the same amount — Yes, Update Ticket Dates or No, Leave Ticket Dates As-Is. A concert moved a week later takes its sale window with it.
Decline that option if your sale window was set to a fixed calendar date — an early-bird deadline tied to a payment due date, for example — rather than to the event itself.
Deleting an event
Deleting an event requires general Admin Access, not myTickets Admin Access.
An event can only be deleted while no tickets have been sold. Once even one ticket exists, deletion is blocked, and that's deliberate — the tickets people are holding have to keep resolving to something. Cancel the event instead by setting its status to Cancelled, which archives the linked shop products and stops sales.
Deleting an event also deletes its linked myShop products and all of its ticket types.